Teladoc Health TV Wi-Fi Connection Setup
-
The Teladoc Health software allows access to basic Wi-Fi networks with available SSIDs. If more advanced settings are needed, following the instructions for Advanced Wi-Fi Setup.
-
Advanced Wi-Fi set up should be done only by a trained technician.
-
If a trained technician is not available, use the robot software to connect to an available network and contact Teladoc Health for assistance.
Basic Wi-Fi Setup
- Select Wifi Setup
 from the Settings screen
  .
. - Select the desired secure, clinical wireless SSID network.
Caution: Guest, Staff, and VIP type networks are not suitable for connection of a medical device peripheral.
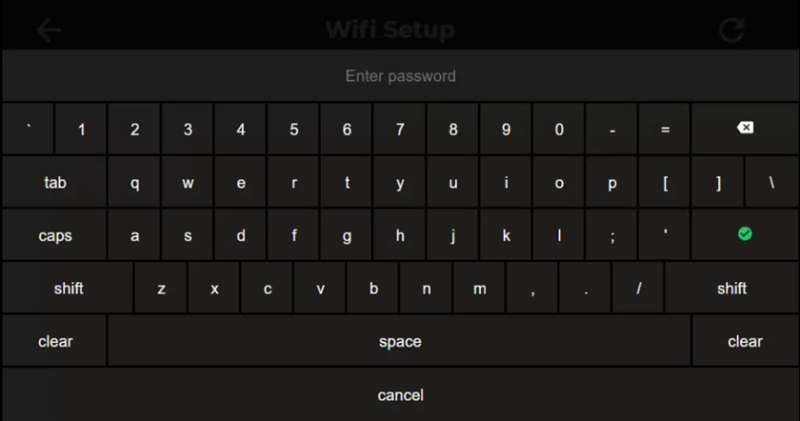
- Enter the network security key.
- Use the Information Icon (
 ) on the lower right corner of the screen and ensure that the status is Ready before attempting to make a connection.
Notes:
- The Diagnostic Information page will display current Wi-Fi status.
- The Teladoc Health TV will automatically connect to known Wi-Fi profiles. For stored Wi-Fi profiles, the password can be changed by selecting it and editing the password.
Advanced Wi-Fi Setup
Access Network & Internet Settings
-
Attach a USB keyboard and mouse,
-
Press the "Windows" key (
 ) to show the taskbar,
 -
Right-click the Robot software icon
 on the taskbar and choose Close window to close the software
 -
Right-click the Wi-Fi
 icon in the system tray and choose Open Network & Internet settings
Select Network
-
Click "Wi-Fi" on the left-hand side of the screen
-
Click Manage known networks
-
Left-click on any networks listed and choose Forget
-
Click the back arrow at the top-left of the screen after all networks are removed,
-
Scroll down the Wi-Fi page until you see Network and Sharing Center, then click on that link
-
Click Set up a new connection or network
-
Click Manually connect to a wireless network
-
Type in the network name
-
Choose the correct security type
WPA2 PSK - (Wi-Fi Protected Access 2 with Pre Shared Key)
-
Type in the password when prompted
-
Ensure Start this connection automatically is checked
WPA2-Enterprise - (Wi-Fi Protected Access for Enterprise)
-
Ensure "Start this connection automatically" is checked, then click Next
-
Click Change connection settings
-
Click the Security tab
-
Click Settings
-
Uncheck Verify the server's identity by validating the certificate
-
Click OK
-
Click OK
-
Click Change connection settings
-
Click the Security tab
-
Click Advanced settings
-
Check the box for Specify authentication mode
-
Choose User authentication in the drop-down menu
-
Choose Save credentials
-
Type in the username and password and click OK