System Configuration
Be sure all hardware is connected before completing the following steps.
| Step | Action | Image |
|
1 |
Turn on the television or monitor. |
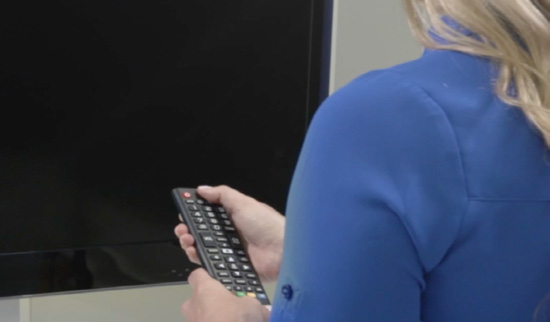
|
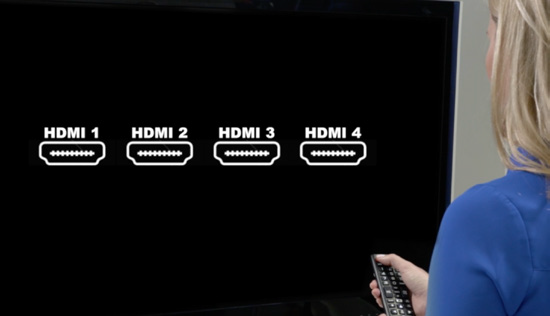
| 2 |
Select the HDMI source the TV is plugged into on the display.
For Televisions, consult your television’s user guide for instructions to adjust the screen’s aspect ratio if the Teladoc Health application does not fit the screen |
|
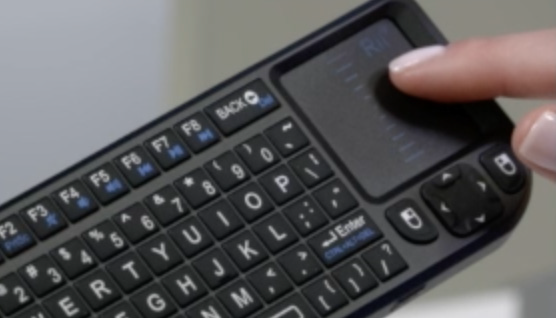
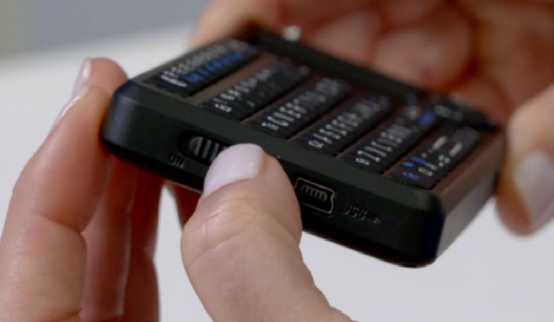
| 3 |
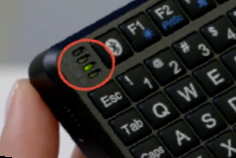
Connect the enclosed keyboard or other Bluetooth or USB keyboard to the Teladoc Health TV if not already connected to navigate the software during the system configuration. Slide the power switch on the keyboard to turn on the Bluetooth keyboard. A solid light means the keyboard is connected. NOTE: If the keyboard loses connectivity, toggle the on/off switch and then press the Bluetooth button. |
|
| 4 |
Use the keyboard to navigate the application screen and connect to Wi-Fi. |
|
| 5 | Click anywhere on the idle screen to open the device option screen. |

|
| 6 | Click the Settings icon in the lower right-hand corner of the screen. |

|
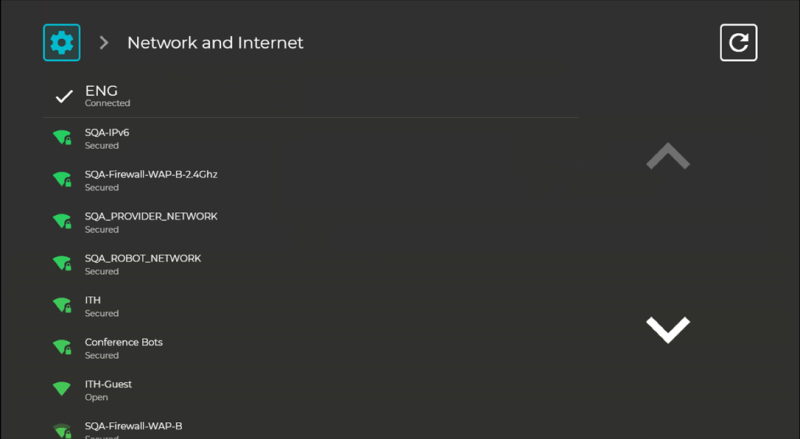
| 7 |
Note: Proceed to step 8 if already connected to WiFi.
Click the Wi-Fi icon
|
|
| 8 |
Note: Proceed to step 15 if AV already set up.
Click the (AV) icon in the top, left corner to run the Audio / Video Wizard. |

|
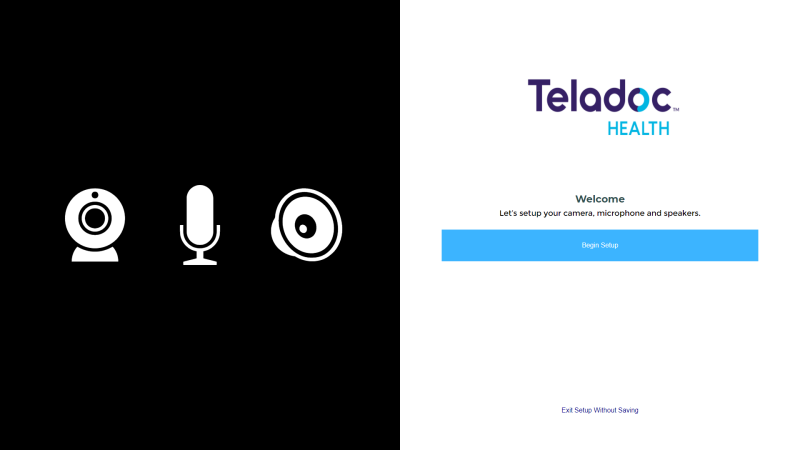
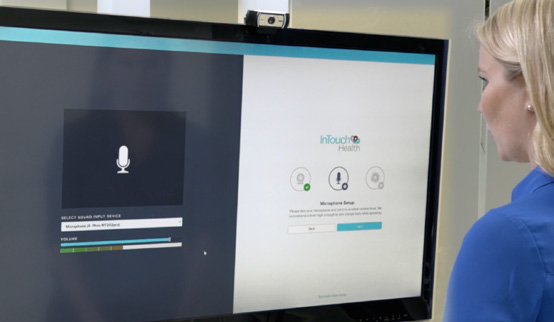
| 9 | Click Begin Setup when the Audio/Video Wizard welcome screen appears. |
|
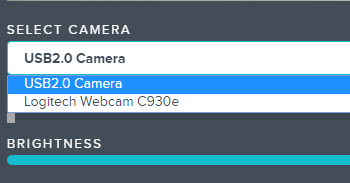
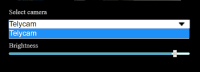
| 10 |
Select the camera from the drop-down:
Note: If using the Teladoc Health Camera and the image needs flipped, see Flip the Teladoc Health Camera image (TV Pro, TV Pro+ & TV Pro+ with Night Vision) and TV Pro One.
|
|
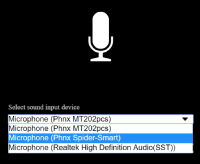
| 11 |
Select Phnx Spider-Smart
|
|
| 12 |
Speak normally to test the microphone and to ensure the microphone picks up your voice. The audio bar will fluctuate to indicate voice detection. Click Next. |
|
| 13 |
Select the Phnx Spider-Smart
Click Test Speakers to test the audio. Adjust the blue slider bar to raise or lower the volume as necessary. Click Next. |
|
| 14 |
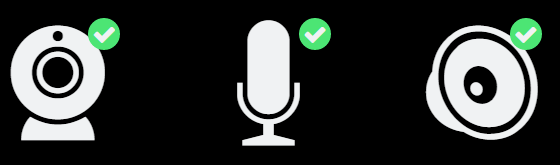
Click Finish when green check-marks appear next to the video, microphone, and speaker icons. |
|
| 15 |
Click the |

|
| 16 |
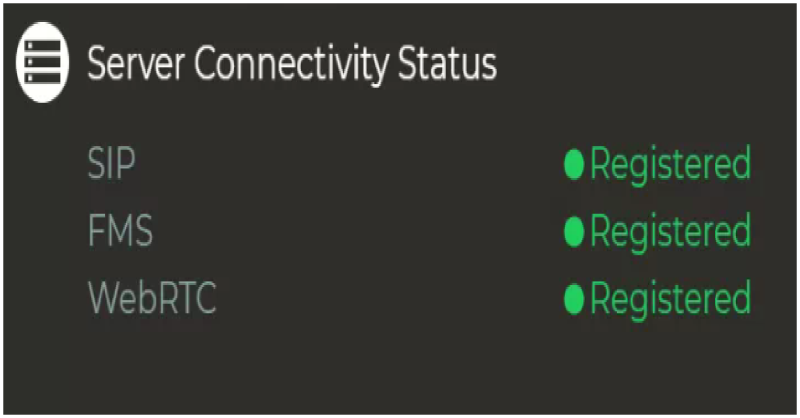
Confirm the status is “Registered” under the Server Connectivity Status for the:
|
|
| 17 |
Click the |

|
 and select the connection to be used.
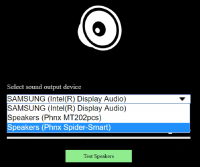
 icon on the lower, right corner of the screen to confirm connectivity to the
  icon on the lower, left corner of the screen to exit the Diagnostic Information screen.